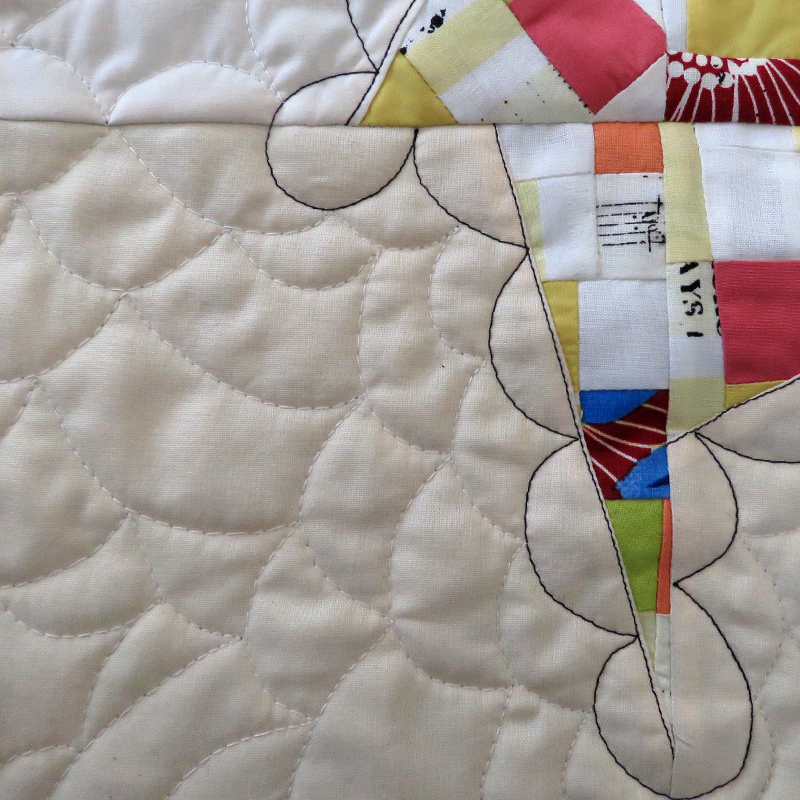


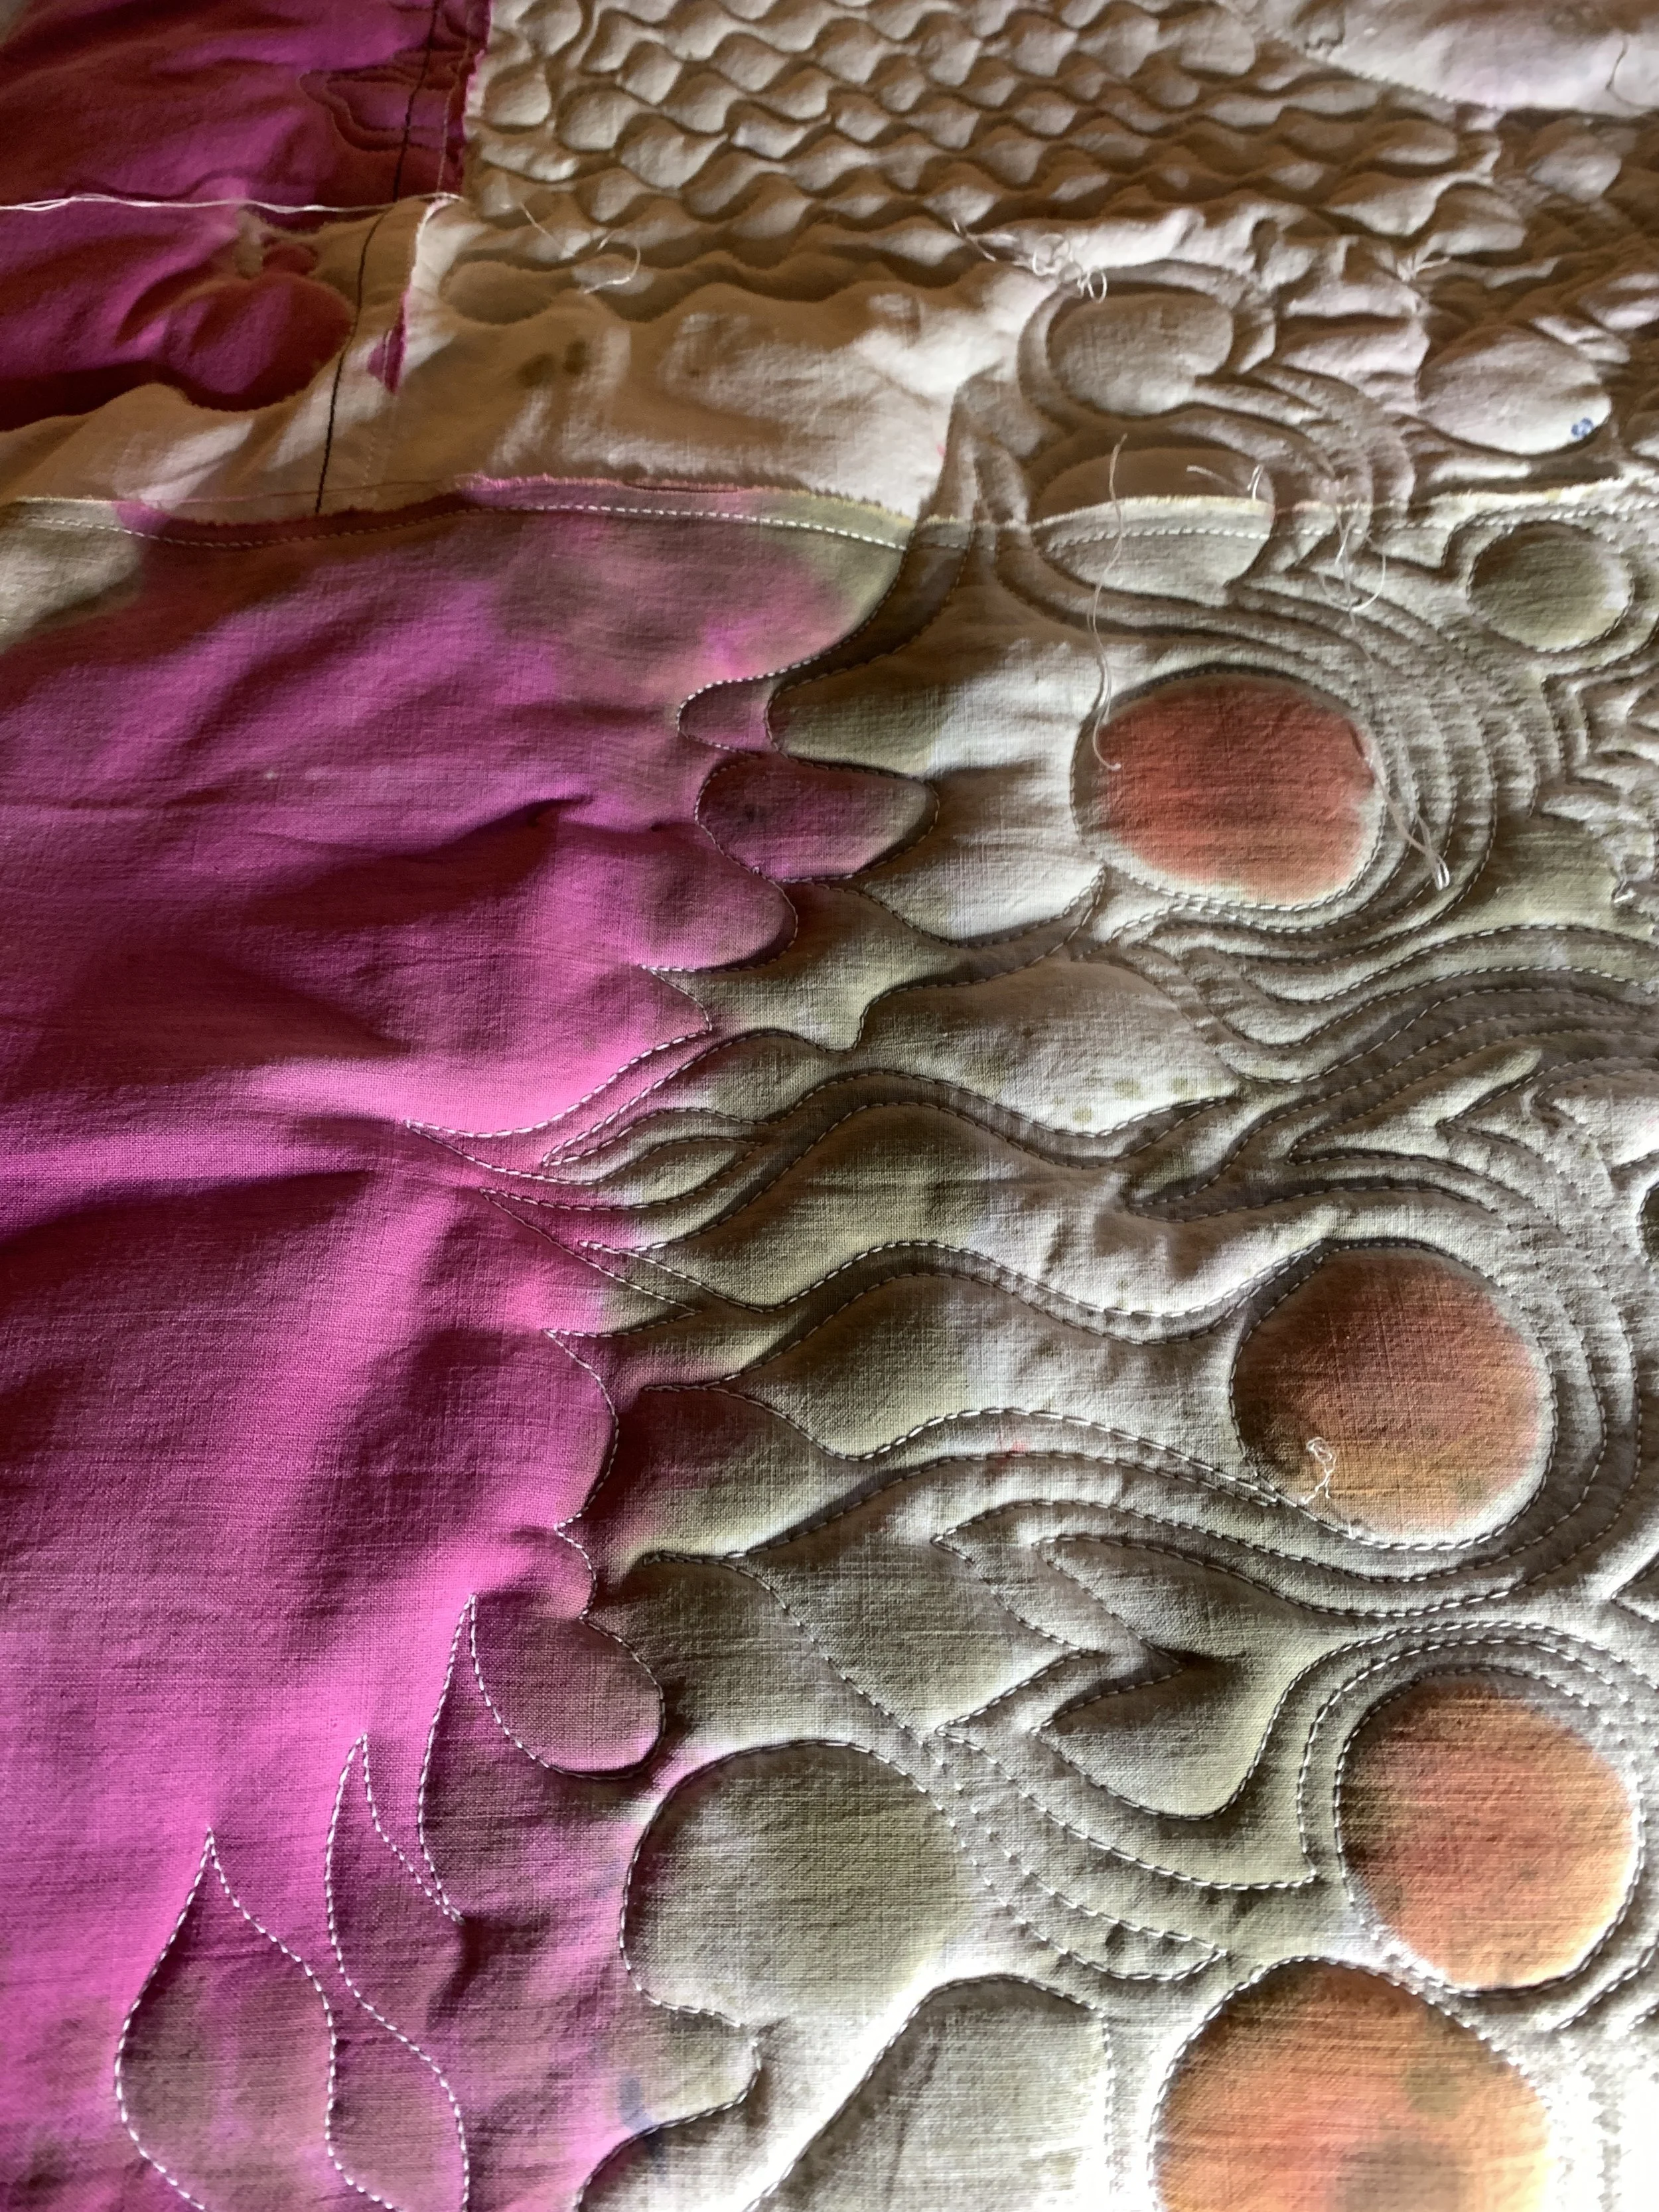


Many people have asked me how I do my free-motion quilting. And, usually, I say I am no expert. I couldn't do a feather if you paid me to do it. What I can do is respond to my ideas with a threadline that makes sense to me. I do it sitting down on a domestic machine.
For me, using YLI 40 weight thread, both in my bobbin and on top, helps. But it is no panacea. Tension issues can arise based on how fat the batting, how loose my shoulders are and how dull my needle might be (I switch out my needles at least every two weeks and sometimes more if I am stitching intensively). I don't drop my feed dogs as it gives me a little more resistance that I find helps me in directing the thread. Some people prefer that the dogs are lowered. Let me remind you: it takes hours and hours of practice and a vision for where you want the thread to go.
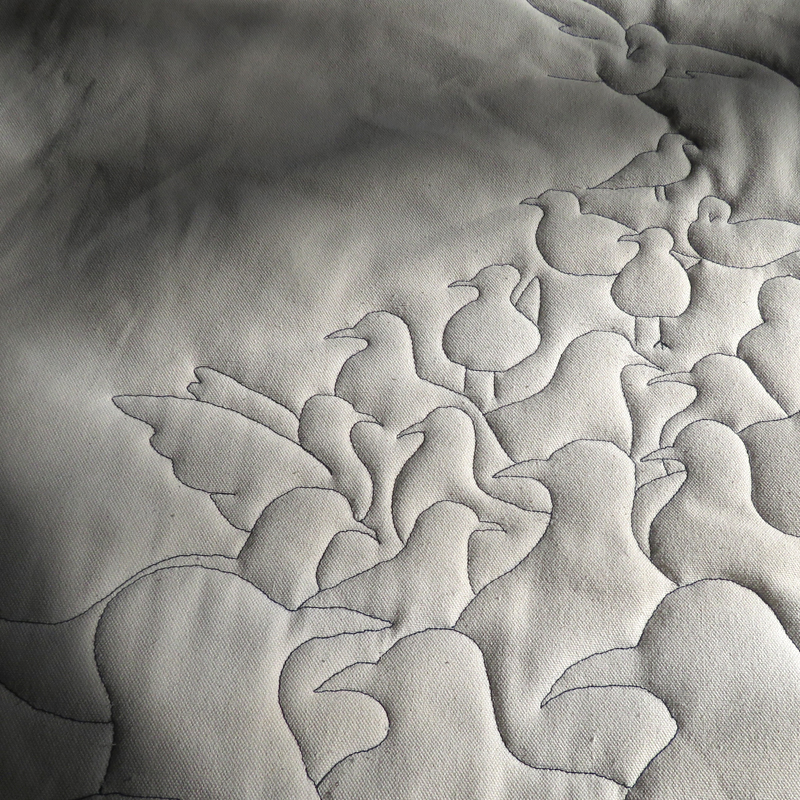
If you are interested in starting the journey I recommend my friend Nysha Nelson's new video Free-motion Quilting 101 (buy it here). His precise, easy-to-follow instructions will get you bumping along the road with a set of tools that allow for creative exploration. Nysha takes the time to think through the zen of stitching. He allows the casual bump or divot to inform the work rather than detract from it. Nysha sets up simple exercises that won't overwhelm the beginner and will still challenge seasoned stitchers.
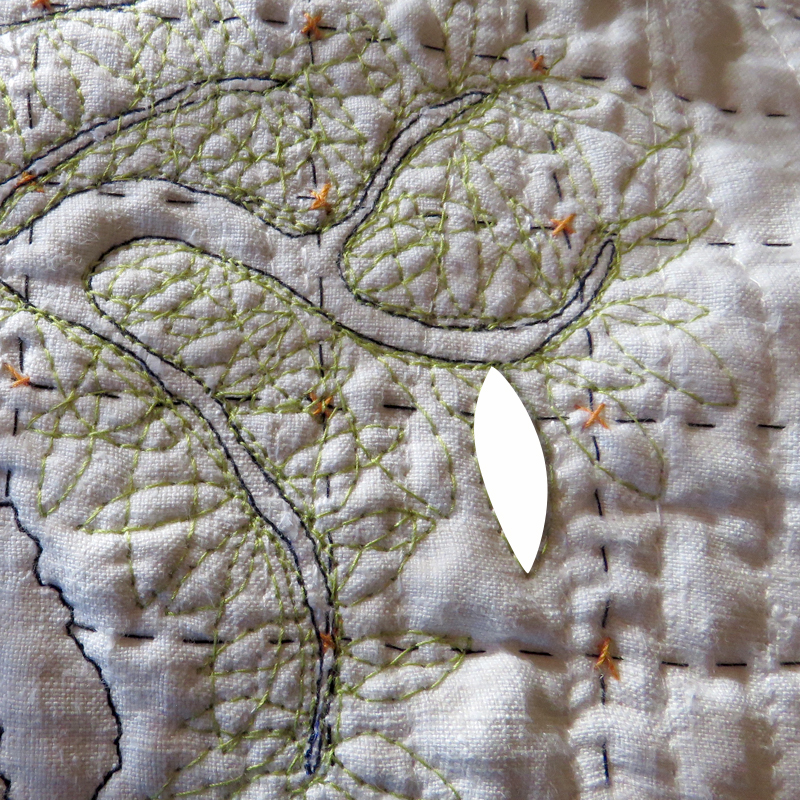
Starting the journey takes planning, deep breaths and a certain devil-may-care attitude that allows you to make mistakes along the way. Listen folks, do we really want each stitch to be so precise that when people walk by they say that it must have been done by a computer? Not me. I like my quirks. Spoiler alert: I will not win blue ribbons at quilt shows because of it. Blue is not my color anyway. Dips and dingles are part of the charm of moving the fabric around.
I say go for it. Start. Practice. Walk away from those pre-programmed stitch patterns. Dream stitchlines. Nysha will help.